Reading Time:
10 minutes
Category:
Nonprofit
Everything a nonprofit needs to know to create a website from scratch: platform choice, essential pages, donation setup, analytics, and realistic costs at every budget level.

Everything a nonprofit needs to know to create a website from scratch: platform choice, essential pages, donation setup, analytics, and realistic costs at every budget level.
If you're starting from zero, the number of decisions involved in creating a nonprofit website can feel overwhelming. What platform? What pages do you need? How do you accept donations? What does it cost?
This guide answers all of those questions honestly, without assuming you have technical experience or a large budget.
Before choosing a platform or picking a template, answer these three questions:
1. Who needs to use this website? Not "everyone": be specific. Donors? Volunteers? Corporate partners? Event attendees? The people you most need to reach should shape every decision that follows.
2. What's the single most important action you need each person to take? For donors: complete a donation. For volunteers: submit an application. For partners: contact you about a partnership. Each user type has one primary action. Make sure you know what it is.
3. What does your organization have right now? Content you can use? Photos? A rough outline of your programs? Existing branding? The answer shapes how much work is ahead.
With those answers in hand, you're ready to start making decisions.
Your domain name (yourorg.org) is the address of your website. It's registered separately from your website itself.
Where to register:

What domain extension to use:
Domain registration typically costs $10–$15/year. If you're a Google for Nonprofits member, you may have credits applicable toward this.
This is the biggest decision. Here's the simplified version:
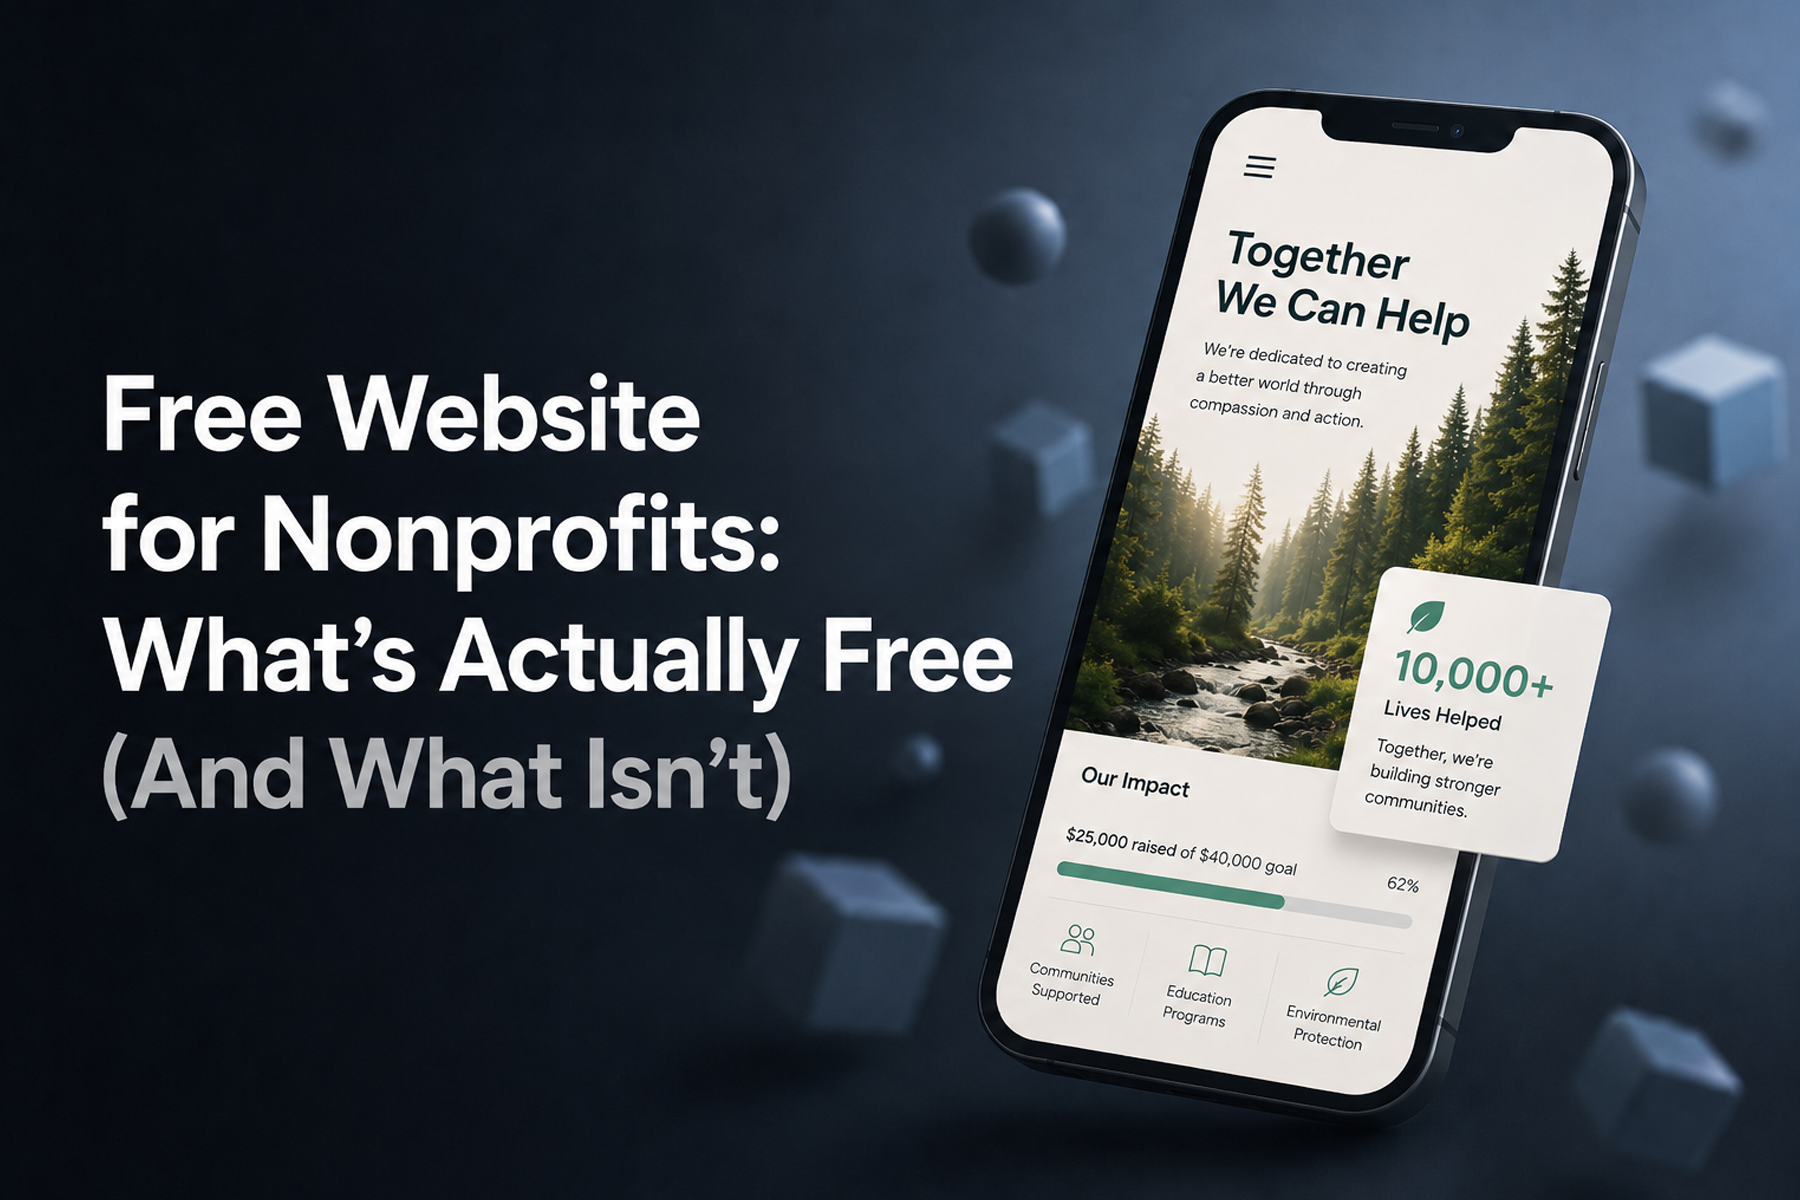
Just getting started, minimal budget: WordPress.com (free tier to start, paid plan when ready) or Wix (free tier available, ~70% nonprofit discount on a 2-year Premium plan via TechSoup)
Want more design quality: Squarespace (~10% nonprofit discount via a TechSoup promo code, clean templates)
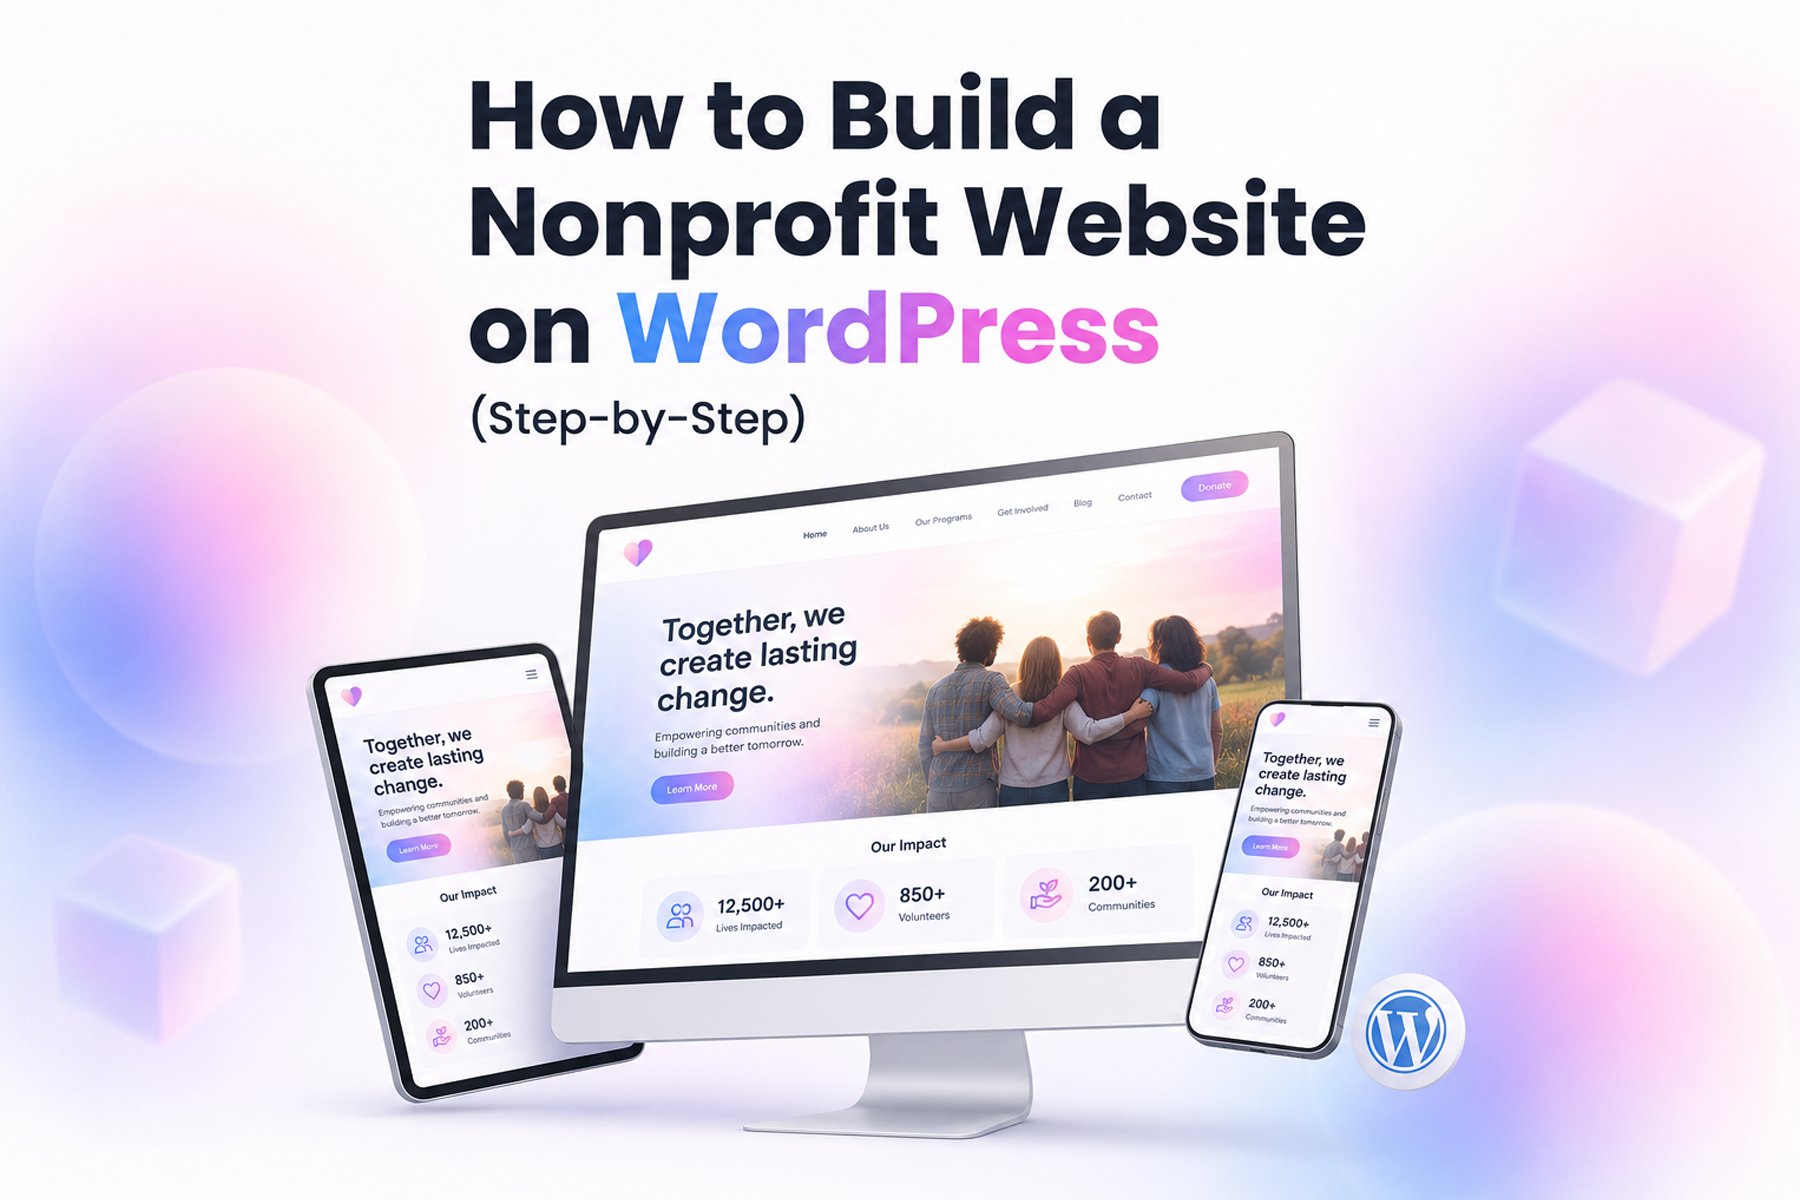
Want the most flexibility long-term: Self-hosted WordPress.org (requires hosting, more setup, but the most capable platform for growth)
Want to avoid managing technical infrastructure: Squarespace or Wix on a paid plan
Related: Best Website Builders for Nonprofits (Honest Review) →
If you're planning to grow and want to avoid a platform migration in two years, start with self-hosted WordPress. The initial setup is more involved, but you'll be on the most flexible, most scalable platform from the start.
Related: Nonprofit Website Builder vs. Custom Design: Which Is Right for You? →
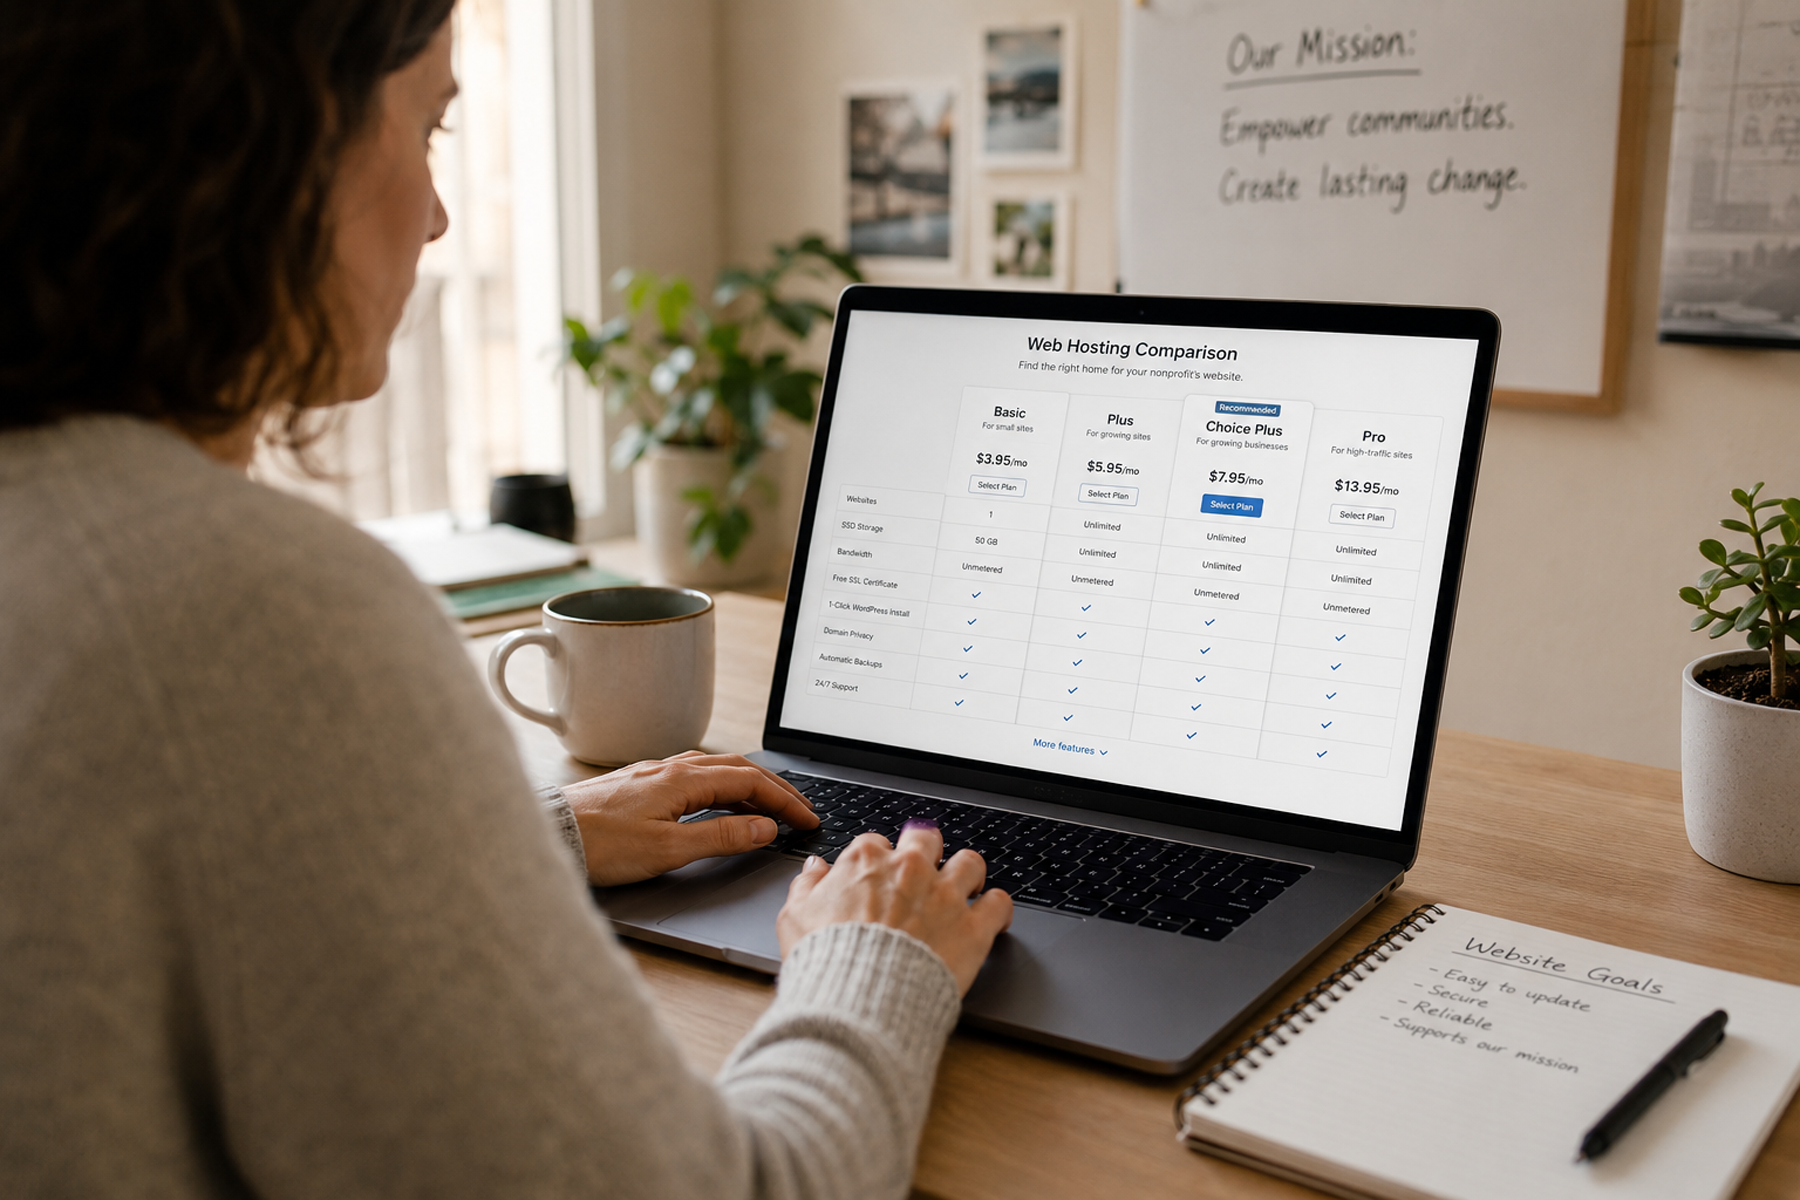
If you choose self-hosted WordPress, you need a hosting plan.
Recommended for beginners: SiteGround or Bluehost: affordable, beginner-friendly, with WordPress installation built in.
For organizations with more budget or performance requirements: WP Engine: excellent managed WordPress hosting. Their nonprofit discount (roughly 40%) isn't self-serve — you'll need to contact their sales team directly with proof of nonprofit status rather than applying through a landing page.
Cost: $5–$50/month depending on plan and provider.
For Squarespace/Wix: Sign up, choose a template, and follow the setup wizard. These are genuinely self-guided.
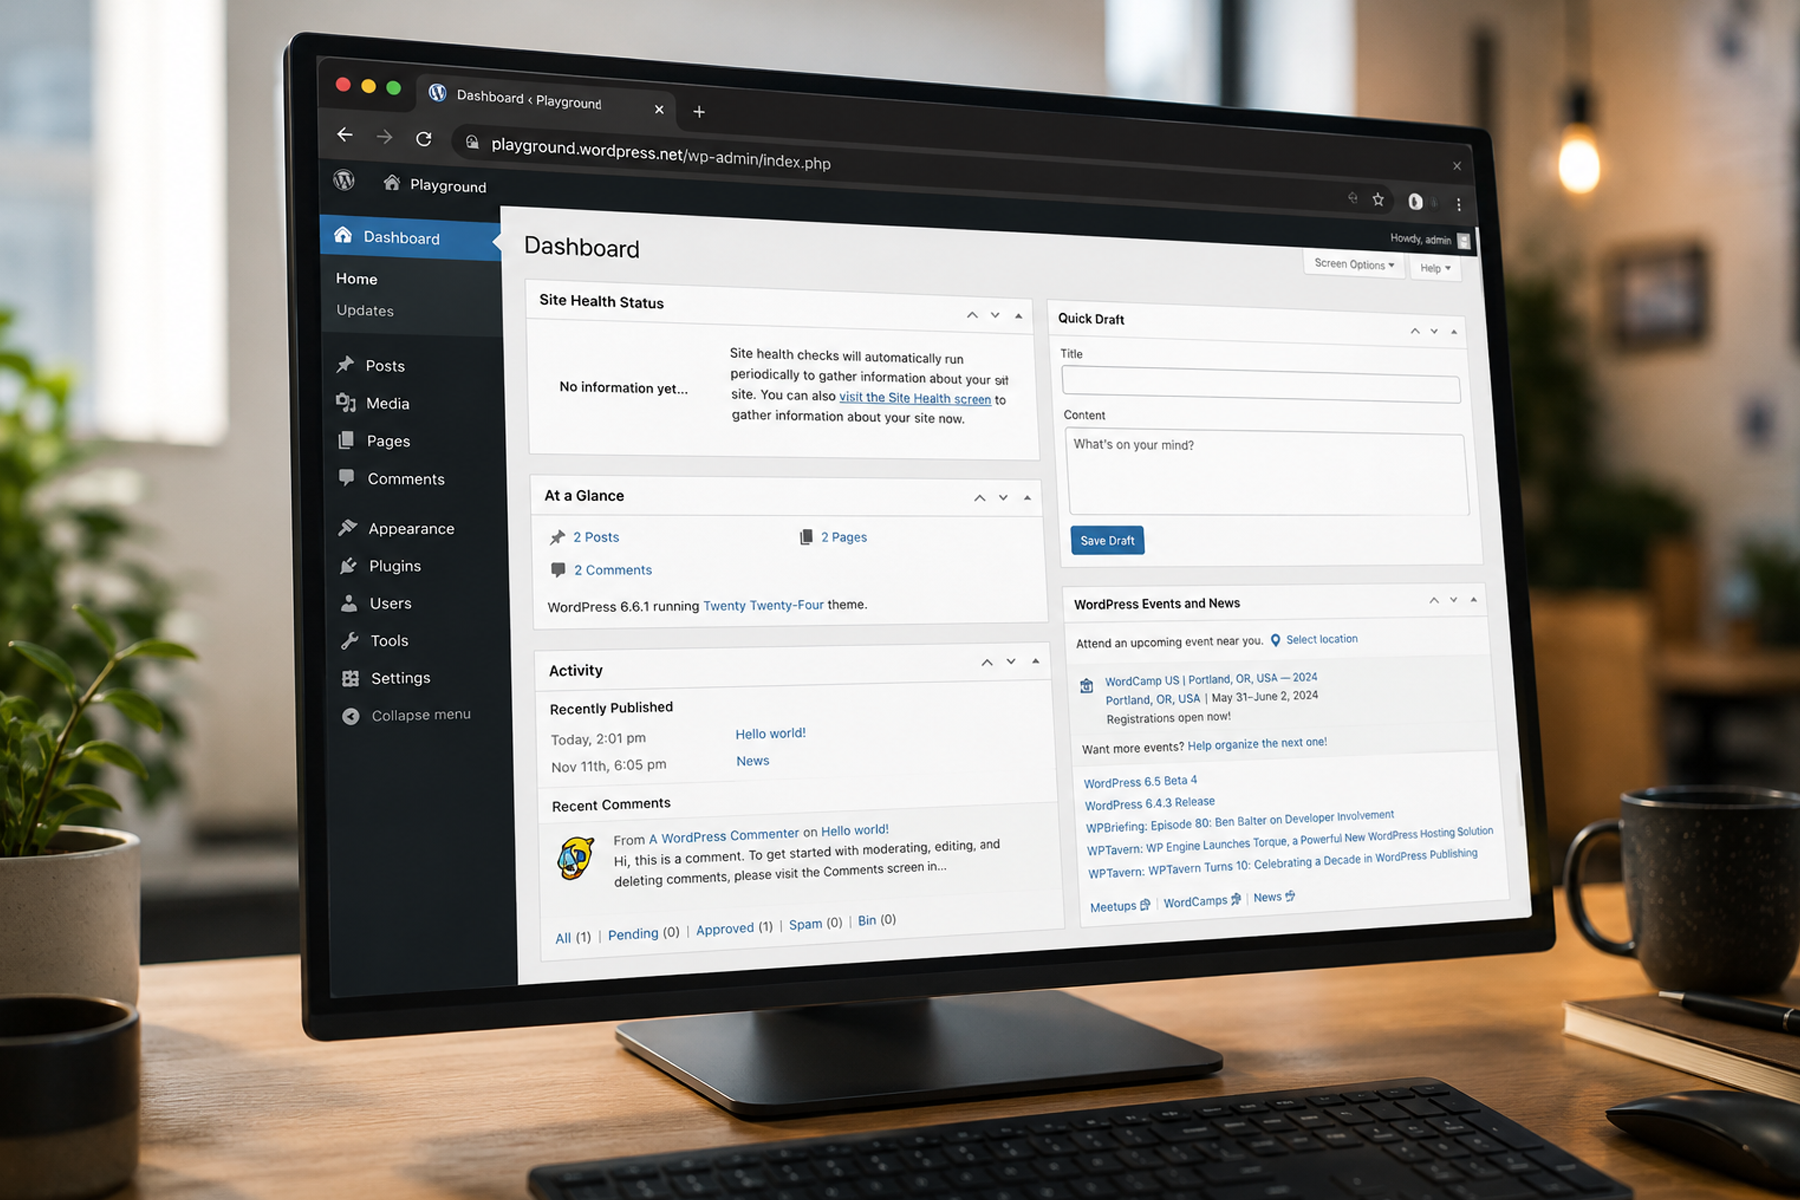
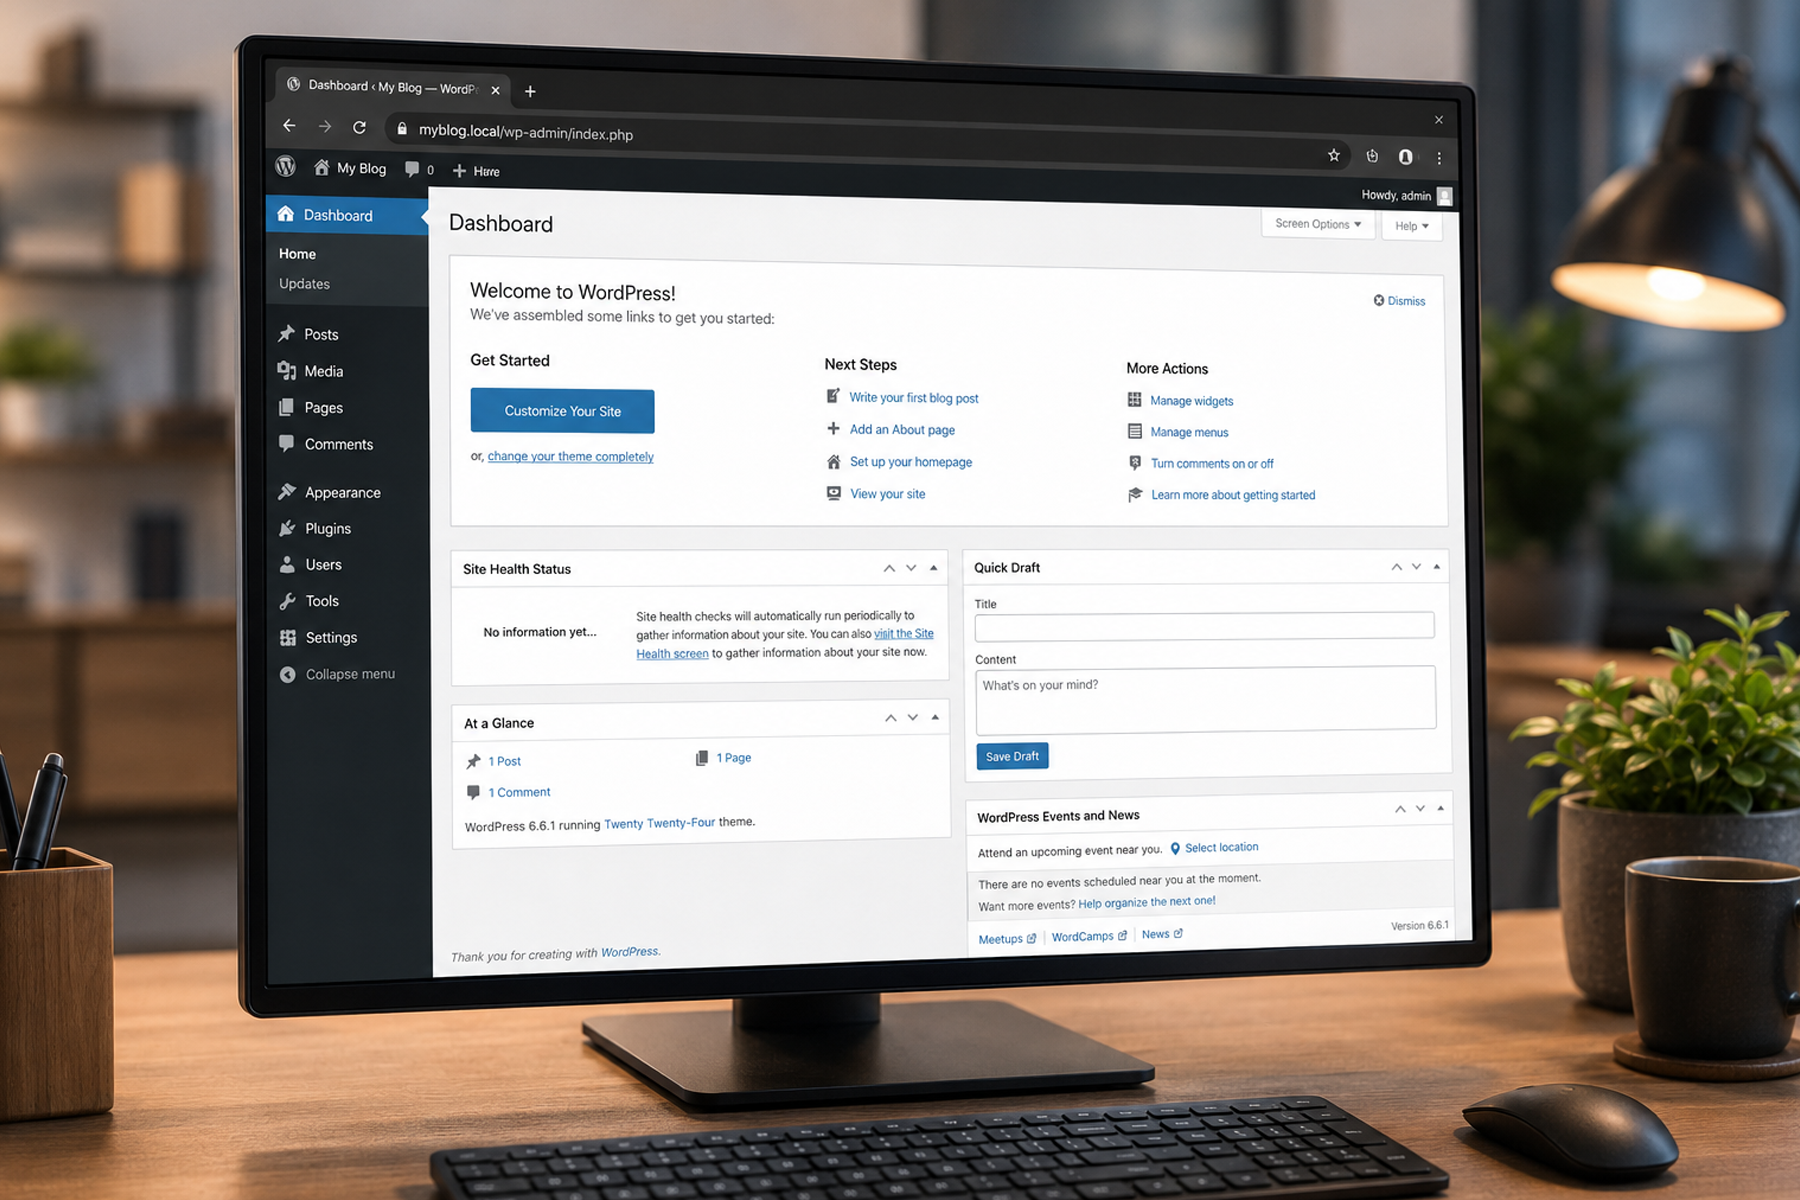
For WordPress: Most hosts offer one-click WordPress installation from the hosting control panel. After installing, you'll access your site at yourdomainname.com/wp-admin.
First things to do in a fresh WordPress install:
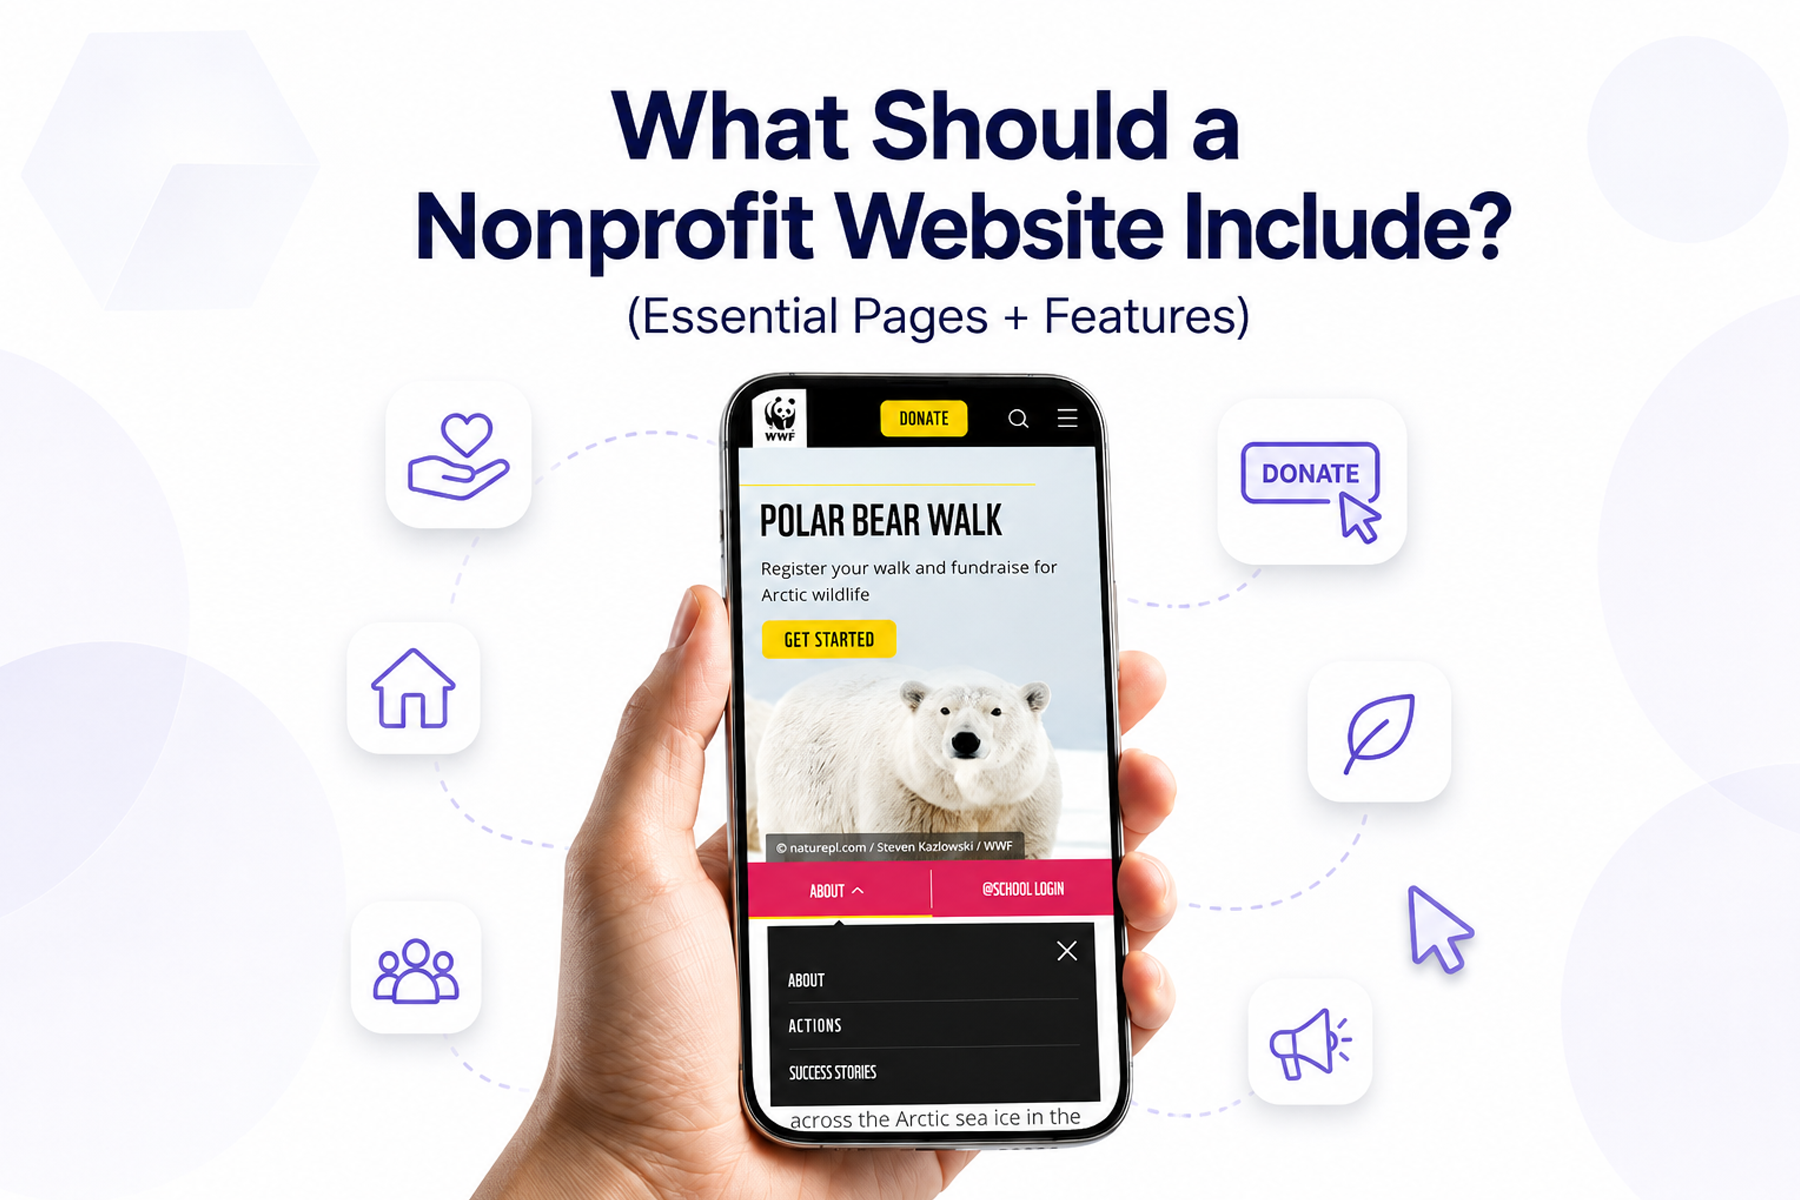
Every nonprofit website needs these pages at minimum:
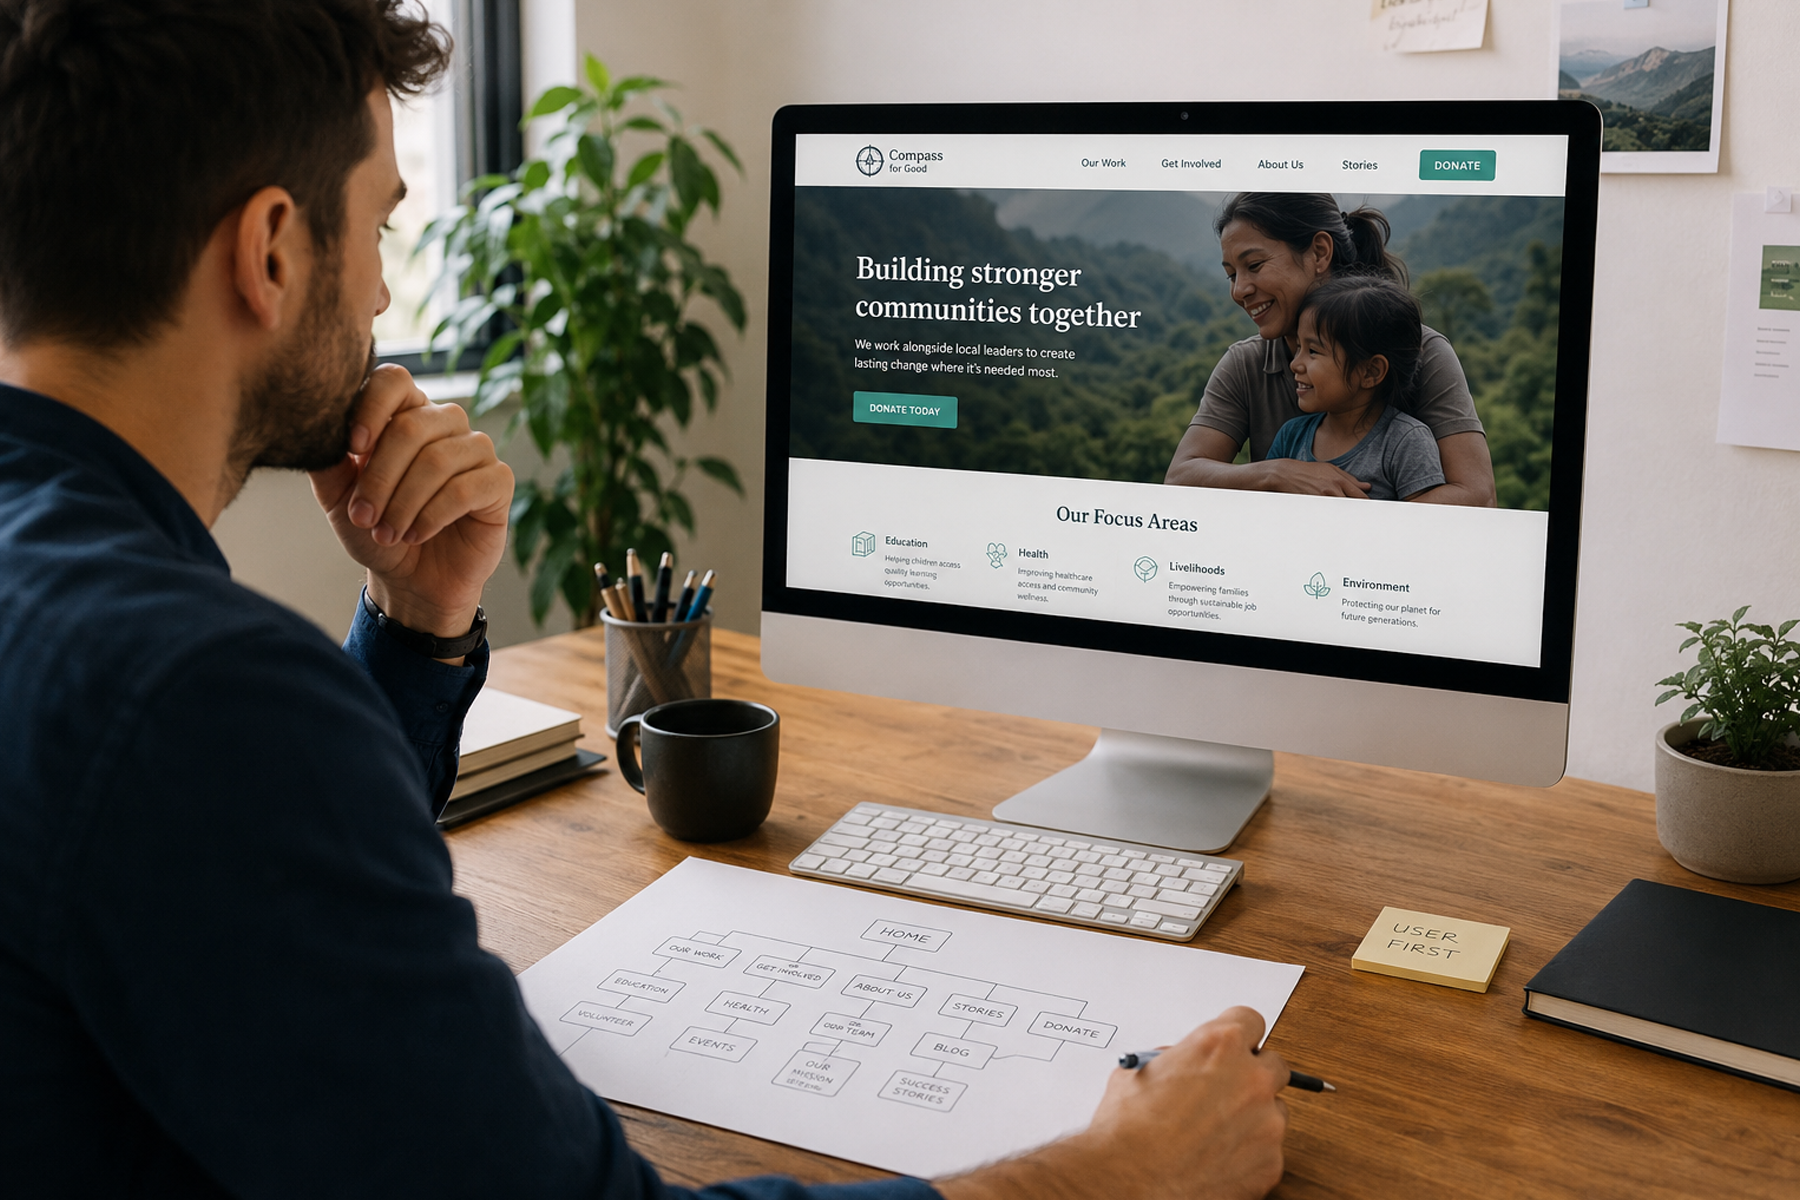
Homepage Your front door. Make it clear in the first 10 seconds: what you do, who it's for, and what you want the visitor to do. A single primary CTA (donate, learn more, get involved) visible without scrolling.
About Your mission, your team, your history, your values. This is where credibility gets established for first-time visitors who need to understand who you are before they act.
Programs / What We Do Specific, concrete descriptions of your work. What does the organization actually do day-to-day? Who benefits, and how?
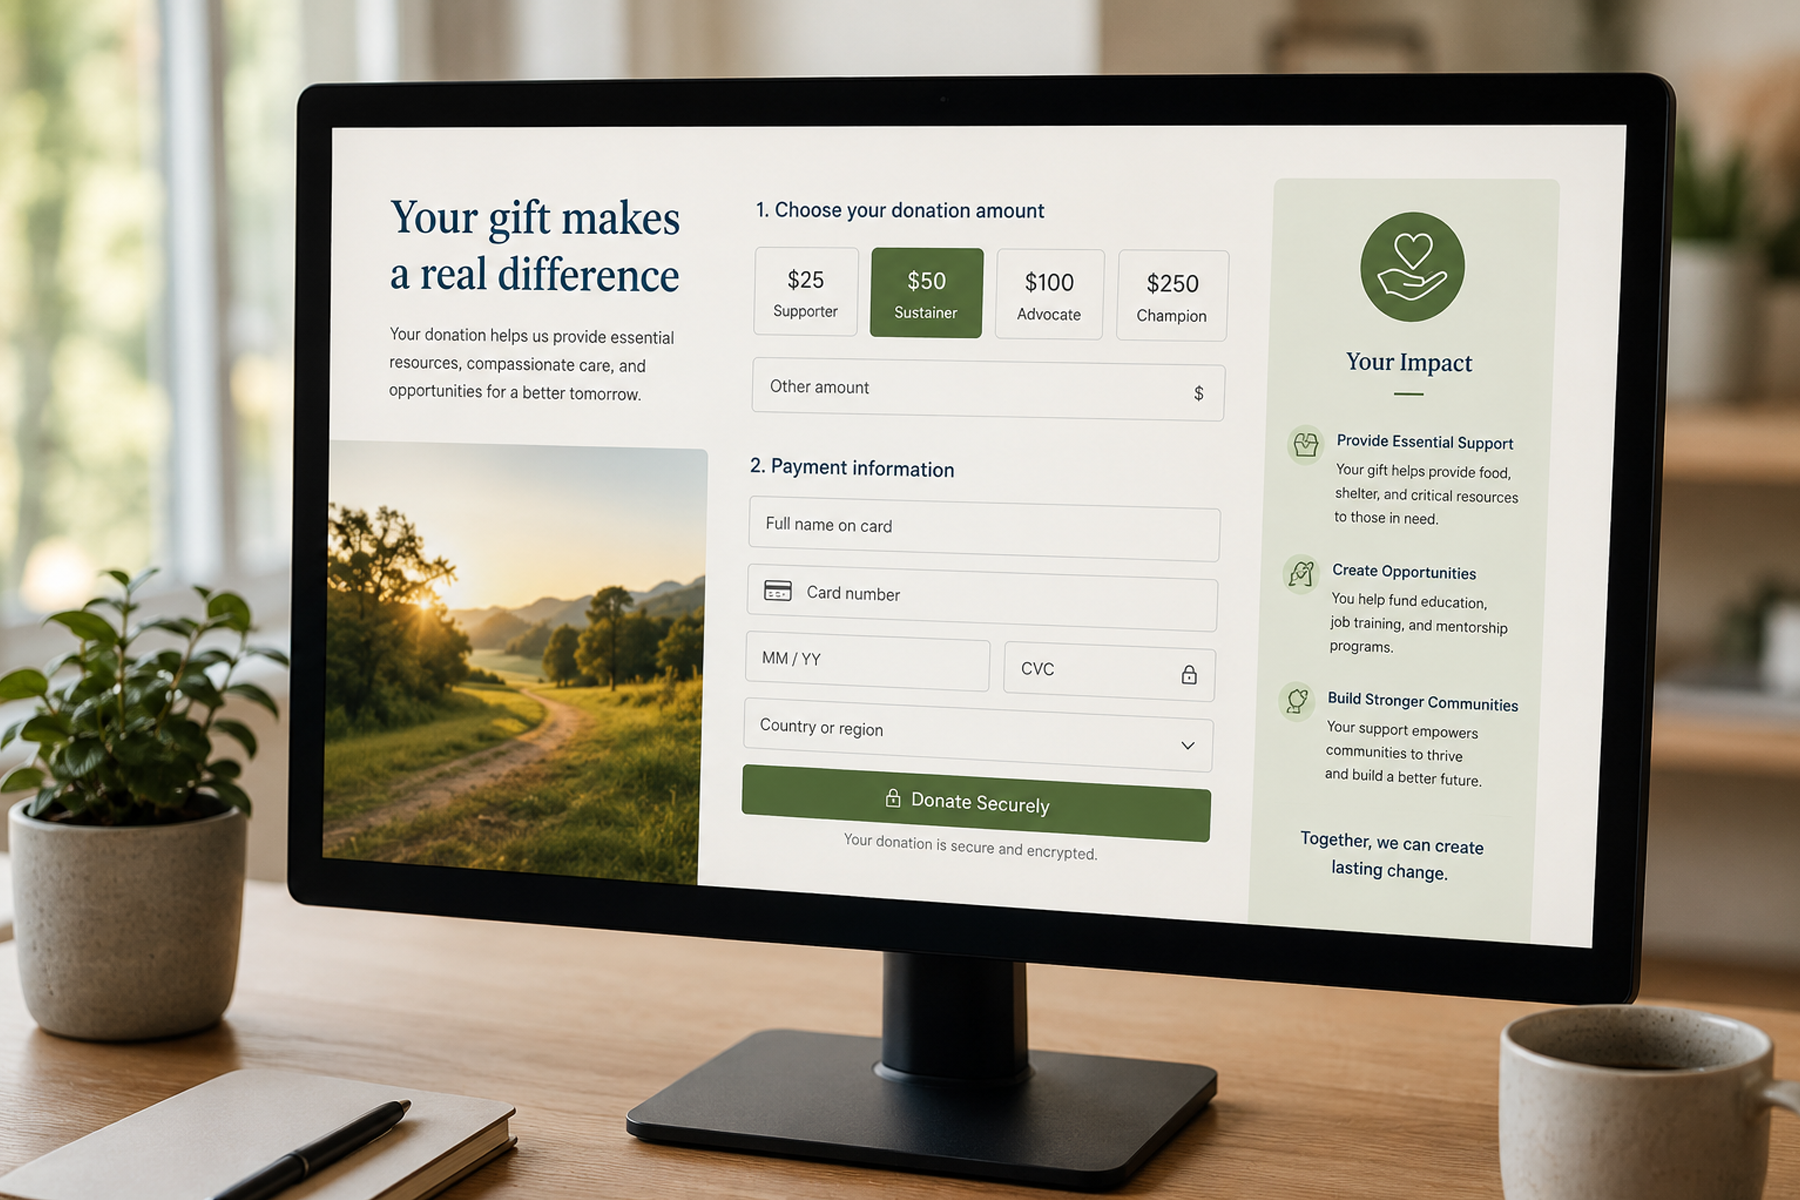
Donate Your donation page deserves careful attention. Keep the form simple: name, email, amount, payment. Add an impact statement that tells donors specifically what their contribution does. Test it on mobile.
Get Involved Volunteer recruitment, partnership inquiries, advocacy actions: any way someone can engage beyond donating.
Impact / Results Prove that your work works. Specific numbers, real stories, verified outcomes. This page is often under-invested and over-important.
Contact Make it easy to reach you. A form, an email address, a physical address if relevant.
Related: What Should a Nonprofit Website Include? (Essential Pages + Features) → (slug to confirm — see note below)
Accepting donations online requires a payment gateway integrated with your website.
Options:
GiveWP (WordPress plugin) The most popular WordPress donation plugin. Free core version handles most needs. Supports Stripe and PayPal. Good for organizations starting out.
Fundraise Up More sophisticated platform, excellent UX, AI-driven donation optimization. More appropriate for organizations with meaningful online donation volume. Integrates with most website platforms via embed.
Donorbox Good middle-ground option. Clean donation widgets, recurring donation support, reasonable pricing.
Givebutter Strong for peer-to-peer fundraising and events alongside standard donations.
Be cautious with: bare-bones PayPal buttons or basic Stripe links with no branding, no impact messaging, and no donor analytics. They're fine for a single transaction but a ceiling for systematic fundraising — purpose-built platforms give you the credibility and recurring-giving tools that a standalone payment button can't.
Related: How to Design a Nonprofit Website That Increases Donations →
Set this up before launch.
You won't have meaningful data immediately: it takes time to accumulate. But getting it set up from day one means you'll have data when you need it.

These are DIY costs. If you're hiring a developer or agency, add their fees on top.
For a full custom-designed and developed nonprofit website, the realistic investment is $25,000–$30,000. That's a different category than the above: appropriate when the website needs to serve a complex audience and drive meaningful donation volume.
Related: Nonprofit Website Development: What It Costs and What You Get →
Skipping mobile testing Build and test on desktop, then be dismayed when it breaks on mobile. Test mobile throughout, not just at the end.
Too many goals on the homepage Five CTAs on one page means no clear direction. Pick one primary action and make it prominent.
Not setting up analytics You can't improve what you don't measure. Get analytics in from day one.
Choosing a free email for official communications yourorg@gmail.com looks unprofessional. Set up professional email (yourname@yourorg.org) through Google Workspace (free for nonprofits via Google for Nonprofits).
Ignoring SEO from the start SEO takes time to build. The earlier you start doing the basics: proper page titles, meta descriptions, clean URL structure: the better. Don't treat it as something to think about later.
Related: Nonprofit Website SEO: How to Get Found Without a Big Ad Budget →
There are points in a nonprofit website's life where professional help pays for itself:
Starting DIY is perfectly reasonable. Knowing when to hand it off is what separates organizations that grow their digital presence from those that stay stuck.
Talk to Wandr when you're ready for the next level →
Wandr builds nonprofit websites that move missions forward. See our work →

A domain name ($12 to $20/year), web hosting or a platform subscription ($0 to $50/month), a website builder or CMS (WordPress, Squarespace, or Wix), a donation platform (GiveWP, Donorbox, or Fundraise Up), and Google Analytics and Search Console configured before launch.
Homepage, About, Programs or What We Do, Donate, Get Involved (volunteer, partner, advocate), Impact or Results, Blog or News, and Contact. Each page should have a clear primary CTA and serve a specific user need rather than general organizational information.
WordPress.org (self-hosted) is still strongly preferred for nonprofits with any growth ambitions, since you control hosting, security, and the full plugin ecosystem outright. WordPress.com has narrowed the gap, though: as of an April 2026 platform change, every paid WordPress.com plan — including the entry-level Personal plan — now allows plugin installation, so a donation plugin is no longer locked behind the pricier Business tier. The free tier still doesn't allow plugins or a custom domain, so self-hosted WordPress remains the more capable long-term option for organizations planning to scale.
Through Google Workspace (free for nonprofits via Google for Nonprofits) or Microsoft 365 for Nonprofits (discounted through TechSoup). A professional email at yourdomain.org is important for donor communications and organizational credibility.
Not necessarily to get something online. Platforms like Squarespace and Wix are genuinely accessible without technical skills. For a WordPress build optimized for conversion and SEO, some developer involvement improves quality significantly. For a custom-designed site with user research, a professional agency is the right approach.