

Most product failures are not failures of execution. They are failures of assumption. A team builds something based on what they believed users wanted, ships it, and discovers that the reality of how users interact with the product does not match the model the team had in their heads.
UX prototyping exists to surface that gap before it becomes expensive. A prototype is not a deliverable. It is a question made tangible — a way of asking "does this work the way we think it does?" before committing to the answer in code.
This guide covers everything a product team needs to know about UX prototyping: what it is, the different fidelity levels and when to use them, the methods available at each stage, the best tools for the job, and how to run testing sessions that generate feedback worth acting on.
What Is UX Prototyping?
UX prototyping is the process of creating interactive, testable representations of a product at various stages of design. A prototype can be as simple as a paper sketch with arrows drawn between screens, or as sophisticated as a pixel-perfect Figma file with animated transitions and realistic interactions. What makes something a prototype rather than a mockup is interactivity: the user can navigate through it, make choices, and experience something that approximates the real product.
The purpose of prototyping is to test decisions before they are built. Every design contains dozens of embedded assumptions about how users will interpret information, what they will do when they encounter a choice, and whether the flow makes intuitive sense. Prototyping makes those assumptions testable. It moves design from opinion to evidence.
The earlier a prototype can be tested with real users, the less expensive the corrections. A layout change that takes ten minutes to make in a Figma prototype takes days to make in code and weeks to make after launch. Prototyping does not just improve design quality. It changes the economics of product development.
Fidelity in UX Prototyping
Fidelity refers to how closely a prototype resembles the final product. The right fidelity level depends on what question you are trying to answer, not on how polished the work looks.
Low-Fidelity Prototypes
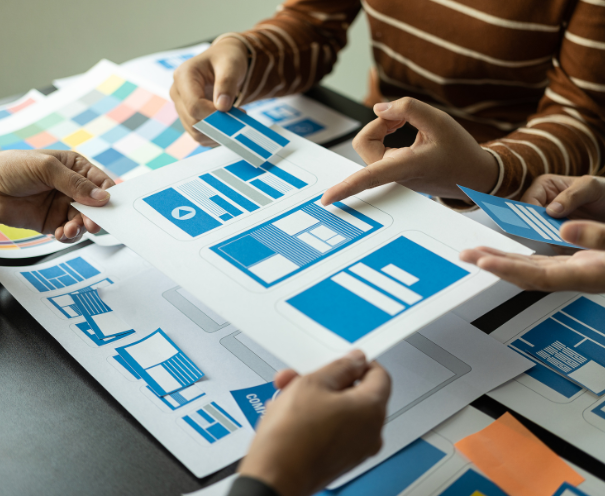
Low-fidelity prototypes are rough, fast, and intentionally unfinished. They strip the design down to its structural elements: where things are on the screen, how the user moves between sections, and whether the basic logic of the flow makes sense.
Low-fidelity prototypes are usually produced as paper sketches, whiteboard drawings, or simple wireframes with placeholder content and no visual design. The lack of polish is a feature, not a limitation. When a prototype looks unfinished, users give feedback on the structure and flow rather than commenting on colors, fonts, or visual details that have not been decided yet.
Low-fidelity prototyping is fastest and cheapest and is the right choice when:
- The team is still exploring different structural approaches and needs to compare options quickly
- Core flows and information architecture have not yet been validated with users
- Stakeholders need to align on the basic direction before visual design begins
- The design problem is complex enough that the team is not yet confident in the fundamental structure
The limitation of low-fidelity prototyping is that it cannot test interactions, animations, or the emotional quality of an experience. For those questions, higher fidelity is needed.
Mid-Fidelity Prototypes
Mid-fidelity prototypes sit between rough sketches and finished designs. They have more structure than a paper prototype but are not yet visually polished. Typically built in a tool like Figma or Sketch, they use real content and basic visual hierarchy but placeholder imagery and simplified styling.
Mid-fidelity is the most commonly used level in practice because it balances speed with enough realism to generate useful feedback. It is appropriate for validating user flows, testing navigation patterns, and checking whether the information hierarchy makes sense to users before investing in high-fidelity visual design.
High-Fidelity Prototypes
High-fidelity prototypes closely resemble the final product in both appearance and behavior. They use the actual visual design, real content, realistic interactions, and where relevant, animations and transitions that match what will be built.
High-fidelity prototyping is appropriate when:
- The structural design has been validated and the team is refining details
- Usability testing needs to reflect the real experience closely enough to generate reliable data
- Stakeholder or investor presentations require a realistic demonstration of the product
- The design contains complex interactions or microanimations that need to be experienced to be evaluated
The cost of high-fidelity prototyping is time. A high-fidelity prototype takes significantly longer to build than a low-fidelity one, which means it is not the right tool for exploratory or early-stage work. Using high-fidelity prototypes before the fundamental structure has been validated is one of the most common and expensive mistakes in product design.
UX Prototyping Methods
Beyond fidelity, prototyping methods vary in how they are constructed and what kinds of questions they are best suited to answer.
Paper Prototyping
Paper prototyping is exactly what it sounds like: screens drawn by hand on paper, sometimes cut out and rearranged to simulate navigation. A facilitator manually "operates" the prototype during testing, swapping paper screens in response to the user's actions.
Paper prototyping is the fastest way to test a concept and requires no tools or software. It is genuinely useful in the earliest stages of a project when the team needs to test multiple structural approaches quickly without committing to any of them. It is also effective in collaborative design sessions where stakeholders and team members sketch and iterate together in real time.
Wireframe Prototyping
Wireframe prototypes are digital low-to-mid fidelity prototypes built in tools like Figma, Balsamiq, or Whimsical. They show screen layouts with real content and navigation but without finalized visual design. Clickable wireframe prototypes allow users to move through the product independently, which provides cleaner data than paper prototyping because the facilitator's influence is minimized.
Wireframe prototyping is the workhorse of the design process. It is fast enough to use iteratively, realistic enough to generate useful feedback, and flexible enough to accommodate changes without significant rework.
Interactive Prototype
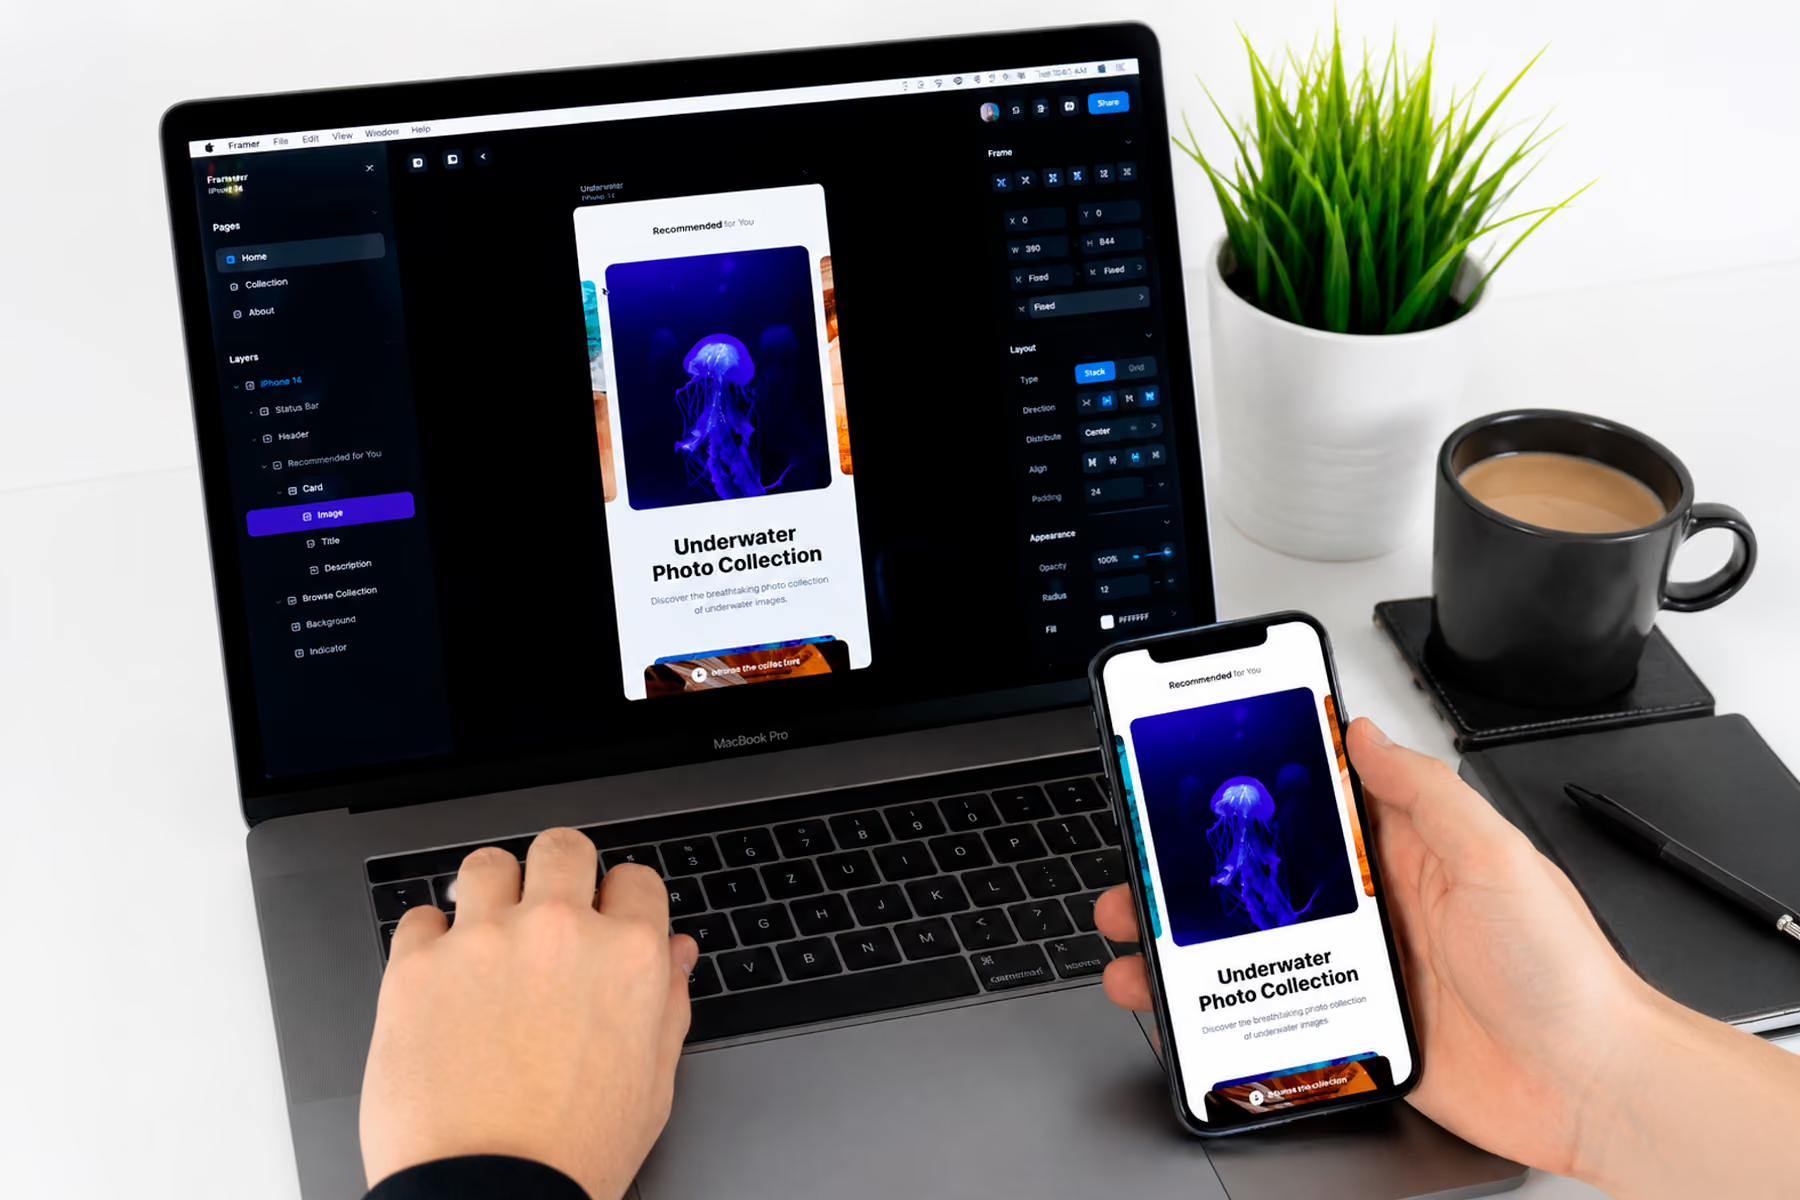
An interactive prototype is a high-fidelity prototype built in a tool that allows realistic interactions, transitions, and animations. Tools like Figma, ProtoPie, and Framer allow designers to build prototypes that behave almost identically to the final product, including complex gestures, conditional logic, and dynamic content.
Interactive prototyping is appropriate for the later stages of design when the team needs to validate the quality and feel of specific interactions, test edge cases and error states, or present a realistic product demonstration to stakeholders.
Coded Prototype
A coded prototype is built in actual code, typically HTML and CSS with basic JavaScript, rather than in a design tool. It is the highest fidelity prototyping approach and is usually reserved for cases where the interaction is too complex to simulate reliably in a design tool, or where the team needs to test performance characteristics alongside the design.
Coded prototypes require engineering involvement and are significantly more expensive to produce and modify than design-tool prototypes. They are appropriate for validating technically complex interactions, testing on real devices with realistic performance, or building functional demos for sales or investment purposes.
The Best UX Prototyping Tools
The right prototyping tool depends on the fidelity level needed, the complexity of the interactions being tested, and the team's existing workflow.
Figma
Figma is the most widely used prototyping tool in the industry and the right default choice for most teams. It handles everything from low-fidelity wireframes through high-fidelity interactive prototypes in a single tool, with strong collaboration features that allow designers, product managers, and developers to work in the same file simultaneously.
Figma's prototyping features cover most use cases: clickable navigation, overlay and modal interactions, scroll behaviors, and basic animations. For the majority of design validation work, Figma is sufficient and the most efficient choice.
ProtoPie
ProtoPie is a specialized prototyping tool built for complex, high-fidelity interactions that exceed what Figma can simulate. It supports conditional logic, sensor inputs (accelerometer, microphone, touch pressure), multi-device interactions, and highly realistic animations.
ProtoPie is the right tool when the interaction design is central to the product experience and needs to be tested in a way that closely mirrors real behavior. It is not a replacement for Figma but a complement to it for specific high-complexity use cases.
Framer
Framer is a design and prototyping tool with a built-in code editor, sitting between a design tool and a coded prototype. It supports React components, real data integrations, and interactions that go beyond what Figma and ProtoPie can produce.
Framer is appropriate for teams with design-engineering overlap who need production-quality prototypes or functional landing pages, and for interactions that require real data or conditional logic more sophisticated than ProtoPie supports.
Maze
Maze is an unmoderated usability testing platform that integrates directly with Figma prototypes. Rather than running moderated testing sessions where a facilitator observes users in real time, Maze distributes the prototype to participants who complete tasks independently and records quantitative data on task completion rates, misclick rates, and time on task alongside qualitative feedback.
Maze is not a prototyping tool but a testing tool, and it is worth including here because it changes the economics of prototype testing significantly. A Figma prototype connected to Maze can be tested with dozens of users asynchronously in the time it would take to schedule and run a handful of moderated sessions.
Balsamiq
Balsamiq is a low-fidelity wireframing tool with a deliberately sketch-like aesthetic that discourages users and stakeholders from commenting on visual design details. It is useful for teams that want to maintain the speed and exploratory quality of paper prototyping while working digitally, and for presenting early-stage concepts to stakeholders who have a tendency to focus on visual details before the structure has been validated.
When to Prototype and When Not To
Prototyping is valuable at every stage of the design process, but the type of prototype and the questions being tested should change as the project progresses.
In discovery: Use low-fidelity paper or wireframe prototypes to test structural concepts quickly. The goal is to find out whether the fundamental approach is right, not to refine it.
In design: Use mid-fidelity wireframe prototypes iteratively to validate flows, navigation, and information hierarchy. Test early and often. Each round of testing should produce a specific set of changes, not an open-ended list of things to revisit.
In refinement: Use high-fidelity interactive prototypes to test specific interactions, validate visual hierarchy, and ensure the designed experience holds up under realistic conditions.
Before development: A high-fidelity prototype reviewed by the engineering team surfaces implementation questions and edge cases that are much cheaper to solve in design than in code.
There are also times when prototyping is not the right investment. If a design decision is low-stakes and easily reversible after launch, prototyping it may cost more than the risk it mitigates. If the team is building something with no meaningful precedent and user behavior is genuinely unpredictable, a lightweight MVP in code may generate better learning than any prototype. Prototyping is a tool, not a ritual.
How to Get Useful Feedback From Prototype Testing
A prototype is only as useful as the feedback it generates. Most usability testing sessions produce less insight than they could because the questions being asked are too broad, the tasks are too guided, or the facilitator unintentionally steers participants toward desired responses.
Give users tasks, not tours. Instead of asking a user to "explore the product and tell you what you think," give them a realistic task to complete: "You've just received an alert about a policy violation. Show me what you would do." Realistic tasks reveal how users actually navigate and interpret information. Open exploration reveals what catches their eye.
Do not explain before they struggle. When a user is confused, the instinct is to help them. Resist it. Confusion is the data. Let the user struggle with something until they either resolve it or give up, then ask what they expected to happen. That gap between expectation and reality is where the design insight lives.
Ask about behavior, not opinion. "Would you use this feature?" is a poor question because users answer hypothetically and optimistically. "Walk me through what you would do if you needed to [accomplish this task]" generates much more reliable data because it is grounded in behavior rather than stated preference.
Test the edge cases. Most usability testing focuses on the happy path. Empty states, error states, and recovery flows are where many products fail in practice and where testing is most valuable. Include tasks that deliberately trigger these states.
Debrief systematically. After testing, the team should synthesize findings against the specific design decisions being tested, not produce a general list of observations. Each finding should connect to a specific decision: what was assumed, what was observed, and what should change.
Final Thoughts
UX prototyping is not a phase of the design process. It is a mindset: the habit of making assumptions testable before they become commitments. The teams that prototype well do not necessarily prototype more than others. They prototype with more clarity about what they are testing and what they will do with what they find.
The best prototype is the simplest one that answers the question you are asking. Paper if the question is structural. Wireframe if the question is navigational. High-fidelity if the question is experiential. The fidelity should follow from the question, not from the desire to impress.
If you are building a product and are not sure whether your current design will work the way you expect it to, the answer is almost always to build a prototype and find out.
Work With a UX Prototyping Team
WANDR uses prototyping throughout every engagement, from early discovery sketches through to high-fidelity interactive prototypes tested with real users. If you are building a product and want to validate your design before committing to development, schedule a free consultation to talk through the approach.